If any platform is charging you tokens for AI-generated images in 2026, they are not selling you a product. They are selling you ignorance. The actual cost of generating an image on your own hardware is approximately zero once you own a capable graphics card. Local AI image generation is not a secret, not a hack, and not limited to engineers. It is free, open-source software running the same models (or better ones) that these platforms charge you per click to use.
This guide walks you through the setup. By the end, you will have a working local AI image generation pipeline on your own machine, producing images at the quality level of what companion apps charge premium tokens for, at no per-image cost. The only requirement is a modern GPU and about an hour of your time.
What ComfyUI Is and Why It Matters
ComfyUI is a free, open-source, node-based interface for running AI image generation models locally. Think of it as a visual programming environment where each step of the image generation process (loading a model, writing a prompt, setting parameters, generating, upscaling) is a draggable box you connect with wires. It runs in your browser, but the computation happens on your machine.
The “node-based” part sounds intimidating. It is not. The default workflow that ships with ComfyUI already connects the boxes you need for basic text-to-image generation. You type a prompt, click “Queue Prompt,” and get an image. The nodes become useful later, when you want to chain together more complex operations: img2img, inpaintingAn AI image editing technique that fills in or replaces a selected region of an image based on a text prompt, blending the result seamlessly with the surrounding content., ControlNet, batch processing. But for getting started, you can treat it as a simple prompt box with a generate button.
ComfyUI supports Stable Diffusion 1.5, SDXL, Stable Diffusion 3, and Flux models out of the box. It is actively developed, with a large community building custom nodes for every conceivable workflow. The GitHub repository (github.com/comfyanonymous/ComfyUI) has tens of thousands of stars and is updated frequently.
What Flux Is
Flux is a family of text-to-image models created by Black Forest Labs, founded by several of the researchers behind the original Stable Diffusion. Flux represents the current state of the art for open-weight image generation. “Open weightsAI model training files that are freely available to download and run locally, as opposed to closed models accessible only through paid APIs. Anyone can download and use open-weight models on their own hardware without a subscription.” means the trained model files are freely downloadable. You do not need an API key or a subscription. You download the file, point ComfyUI at it, and generate.
The Flux family includes several versions. The main one (Flux.1 Dev) gives the best quality. A faster version (Flux.1 Schnell, German for “fast”) generates images quicker but with slightly less detail. Newer versions keep improving. The key thing: they are all free to download and use.
For running Flux on a normal computer, you want the compressed version (called “FP8”). Think of it like compressing a photo from full quality to high quality: the file gets much smaller, you can barely tell the difference, and it runs on more modest hardware. It needs about 12GB of video memory on your graphics card. Even smaller compressed versions exist that can squeeze onto 8GB cards.
The Flux family includes several variants. Flux.1 Dev is the standard development model, best for quality. Flux.1 Schnell trades quality for significantly faster generation (4 inference steps vs 20-50). Flux.2 added multi-reference image support and improved coherence. NVIDIA collaborated with Black Forest Labs to optimize Flux.2 for consumer RTX GPUs using FP8 quantization, reducing VRAM requirements by roughly 40%.
For local AI image generation on consumer hardware, FP8 quantized checkpoints are the target. They compress model weights from FP16/FP32 to FP8, halving memory footprint with minimal perceptual quality loss. Flux.1 Dev FP8 runs comfortably on 12GB VRAM. GGUF quantized variants (Q4_K_M, Q5_K_S) push the floor down to 6-8GB with progressive quality trade-offs. For 24GB cards, full BF16 weights remain an option.
Hardware Requirements: Less Than You Think
Your computer has two brains: the CPU (the main processor that runs your operating system) and the GPU (the graphics card, originally designed for video games). AI image generation runs on the GPU because it is massively better at the kind of parallel math these models need. The key spec is VRAM: the dedicated memory on your graphics card. More VRAM means you can run bigger, better models.
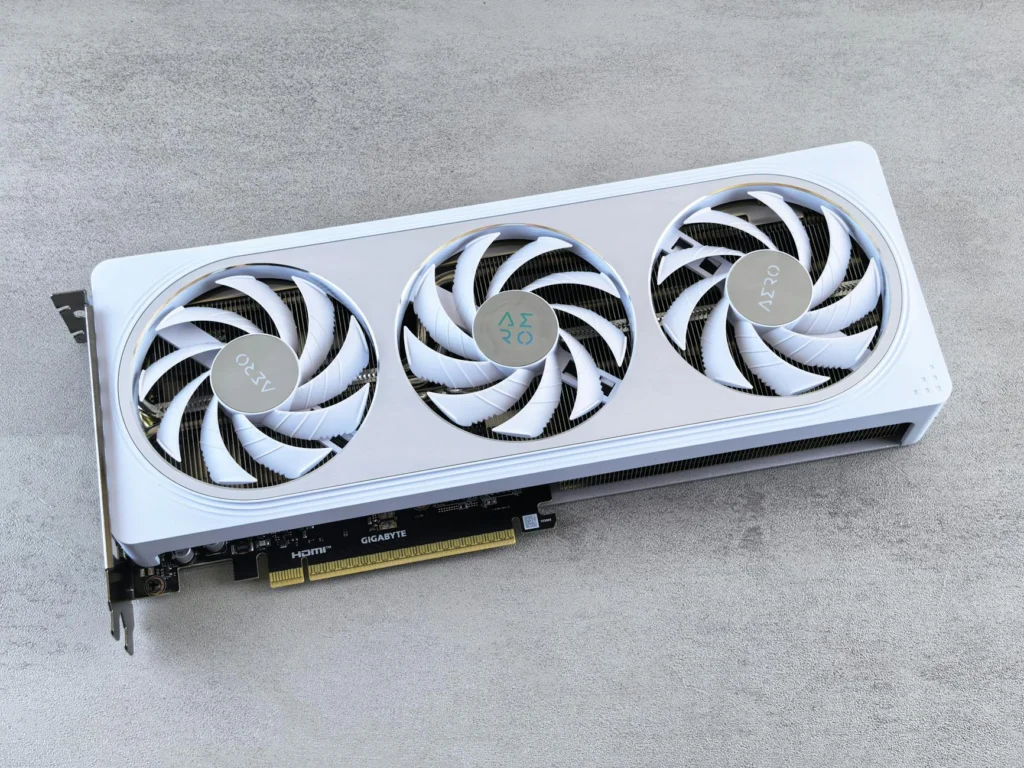
The minimum viable setup for local AI image generation with Flux is any NVIDIA GPU with 8GB of VRAM. That includes the RTX 3060 (12GB variant), RTX 3070, RTX 4060, and everything above them. AMD GPUs work too, though NVIDIA has better software support for this workload. If you have no idea what GPU you have, on Windows go to Settings, System, Display, then scroll down to “Advanced display” and it will tell you.
Here is the practical breakdown:
- 8GB VRAM (RTX 3060 8GB, RTX 4060): Runs heavily compressed Flux models. Generation takes 30 to 60 seconds per image. Perfectly usable.
- 12GB VRAM (RTX 3060 12GB, RTX 4070): Runs Flux.1 Dev FP8 natively. Generation takes 15 to 30 seconds. The sweet spot for most users.
- 16 to 24GB VRAM (RTX 4080, RTX 4090): Runs full-precision models at high speed. 5 to 15 seconds per image. Luxury tier.
A used RTX 3060 12GB sells for $150 to $200 in 2026. That is less than six months of premium subscriptions on most AI companion platforms. Except the GPU does not expire, does not require a recurring payment, and also plays video games.
Setting Up Local AI Image Generation Step by Step
This is the part that looks complicated from the outside and takes about 30 minutes in practice. You need three things: Python (a programming language that ComfyUI is built with), ComfyUI itself, and a Flux model file (the “brain” that generates images).
Before we start: several of these steps involve typing commands into a terminal. A terminal is just a text-based way to tell your computer what to do. On Windows, press the Windows key and type “cmd” to open Command Prompt. On Mac, open Spotlight (Cmd+Space) and type “Terminal.” It looks like a hacker movie, but all you are doing is typing instructions instead of clicking buttons.
The easy path: if the steps below look like too much, skip straight to the ComfyUI Desktop app. It bundles everything into a normal installer for Windows and macOS: download it, double-click, done. The manual setup below gives you more control, but the desktop app gets you generating images in about five clicks.
Step 1: Install Python
Download Python 3.10 or newer from python.org. Run the installer. Important on Windows: check the box that says “Add Python to PATH” at the bottom of the first screen. This lets your terminal find Python when you type commands. On Mac and Linux, Python is usually already installed.
To verify: open a terminal and type python --version. If it prints something like “Python 3.12.1,” you are good.
Step 2: Download and Set Up ComfyUI
Still in your terminal, type this command and press Enter:
git clone https://github.com/comfyanonymous/ComfyUI.gitThis downloads the entire ComfyUI application into a folder called “ComfyUI” wherever your terminal is pointed (usually your home folder). If your computer says “git is not recognized,” you need to install Git first: download it from git-scm.com, run the installer with the default settings, then try again.
Next, navigate into the folder and install the required components:
cd ComfyUI
pip install -r requirements.txt
That second command reads a list of software ComfyUI needs and automatically downloads all of it. The download is a few gigabytes (it includes the math libraries that make your GPU do AI things). On a decent connection, five to ten minutes. You only do this once.
Step 3: Download a Flux Model
The model file is the “brain” that actually generates images. It is a large file (roughly 12GB for the standard version). Go to huggingface.co (a free platform where AI models are shared) and search for “flux1-dev-fp8.” Download the file and place it in the ComfyUI/models/checkpoints/ folder. If you have a smaller graphics card (8GB VRAM or less), search for “flux GGUF” instead to find smaller compressed versions (4 to 8GB).
Step 4: Run It
In your terminal, make sure you are still in the ComfyUI folder, then type:
python main.pyComfyUI starts a local server on your machine. Open your web browser and go to http://127.0.0.1:8188 (that address just means “this computer, port 8188,” it is not going to the internet). The interface loads with a default workflow already set up. Select your downloaded model in the “Load Checkpoint” box, type what you want to see in the prompt box, and click “Queue Prompt.” Your first AI-generated image will appear in 15 to 60 seconds depending on your GPU.
If you get an out-of-memory error, try: python main.py --lowvram. This tells ComfyUI to be more careful with your GPU’s memory, trading some speed for compatibility with smaller cards.
Step 1: Python + Git
Python 3.10+ and Git required. If not installed: sudo apt install python3 python3-pip git (Debian/Ubuntu), brew install python git (macOS), or grab installers from python.org and git-scm.com (Windows, check “Add to PATH”).
Step 2: Clone and install dependencies
git clone https://github.com/comfyanonymous/ComfyUI.git && cd ComfyUIFor NVIDIA (CUDA):
pip install -r requirements.txtFor AMD (ROCm):
pip install torch torchvision torchaudio --index-url https://download.pytorch.org/whl/rocm6.0 && pip install -r requirements.txtAlternatively, use the ComfyUI Desktop app which bundles Python + dependencies in a standalone installer.
Step 3: Download checkpoint
Place your model file in ComfyUI/models/checkpoints/. Recommended starting points:
- 12GB+ VRAM:
flux1-dev-fp8.safetensors(~12GB) from Hugging Face - 8GB VRAM: GGUF Q5_K_S variant (~8GB) from Hugging Face or Civitai
- 6GB VRAM: GGUF Q4_K_M variant (~5GB), usable with
--lowvramflag
VAE is baked into FP8 checkpoints. For GGUF, you may need a separate VAE (ae.safetensors from the Flux repo).
Step 4: Launch
# Default
python main.py

# For 8GB cards
python main.py --lowvram

# No GPU (very slow but works)
python main.py --cpu
Access at http://127.0.0.1:8188. The default workflow auto-loads. Select your checkpoint in the KSampler chain, set your prompt, and queue. For Flux, use 20-30 steps with the Euler sampler for Dev, 4 steps for Schnell.
The Token Economy: What You Are Actually Paying For
Now that you know the setup takes 30 minutes and costs nothing beyond hardware you may already own, consider what AI companion platforms are charging.
The typical pricing model works like this: a free tier gives you 3 to 5 images per day. A mid-tier subscription ($10 to $15/month) gives you 30 to 50 images. Premium tiers ($30 to $40/month) unlock “unlimited” generation, which usually means a higher cap with throttling. Some platforms sell token packs separately, charging $0.10 to $0.50 per image on top of the subscription.
The actual cost to these platforms? Running Flux or a similar model on cloud GPUs costs roughly $0.01 to $0.04 per image at scale, depending on infrastructure. The markup ranges from 3x to 50x. For platforms selling individual tokens at $0.25 to $0.50 per image, the margin is astronomical. As we covered in our comparison of AI companion apps, the business model relies on users not knowing what the technology actually costs to run.
It is the equivalent of charging per Google search in 2004, except Google understood that making search free and monetizing attention was more profitable than nickel-and-diming users. The AI companion app market has not learned this lesson, or more accurately, it has learned that its users do not yet know better.
Upscaling Is Free Too
Many platforms charge extra tokens for “HD” or “upscaled” images. Local AI image generation includes upscaling at no additional cost. Models like 4x-UltraSharp and RealESRGAN can take a 512×512 generation and scale it to 2048×2048 with added detail and sharpness. In ComfyUI, this is a single additional node in your workflow. The upscaler model files are small (under 100MB) and freely available.
The same applies to inpainting (erasing part of an image and having the AI fill it in), img2img (feeding the AI an existing photo and telling it to transform it), and ControlNet (giving the AI a reference pose or sketch to follow). Every feature that a platform might gate behind a paywall exists as a free, installable add-on in ComfyUI.
Alternatives Worth Knowing About
ComfyUI is not the only option for local AI image generation, though it is the most flexible.
Automatic1111 (Stable Diffusion WebUI) is the older, more established interface. It looks more like a normal website: you get a text box, some sliders, and a generate button. No wires, no boxes. Simpler to understand on day one, but harder to do advanced things with later. If ComfyUI’s visual wiring approach genuinely puts you off, start here.
Forge is a fork of Automatic1111 optimized for lower VRAM usage and faster generation. It adds memory management features that let you run larger models on smaller GPUs. A good middle ground.
Both are free, open source, and run the same model files. ComfyUI gets the recommendation here because its node system scales from simple to extraordinarily complex without switching tools, and its Flux support is the most actively maintained. But any of the three will get you off the token treadmill.
The Bigger Picture
The pattern here is not unique to image generation. Platform degradation as a business model works by slowly restricting what was once freely available, then selling access back to you at a premium. AI companion apps took a shortcut: they started with the restrictions in place, betting that users would never learn the underlying technology was open and free.
Local AI image generation is not a workaround or a hack. It is the default state of the technology. The models are open. The tools are open. The only barrier is knowing they exist. Now you know.